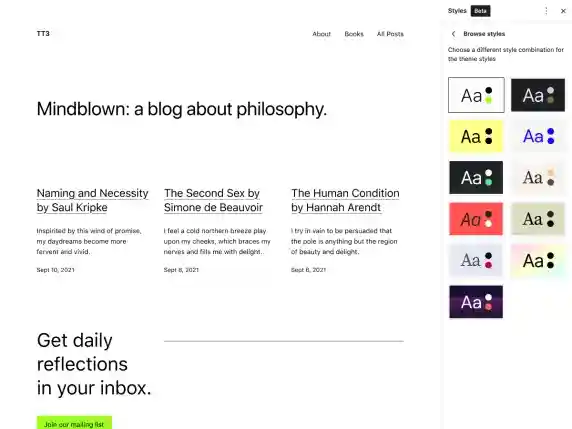
WordPress has become a popular platform for creating impressive websites without the need for coding skills. Each year, WordPress introduces a new default theme that incorporates the latest design trends and features. In 2023, the WordPress Twenty Twenty-Three theme takes the spotlight, offering a modern and stylish foundation for websites across various industries. However, to truly make your website stand out and reflect your unique brand, it’s crucial to customize WordPress Twenty Twenty-Three Theme according to your specific needs.
This article will guide you through the different customization options available, enabling you to transform the default theme into a personalized digital masterpiece that captures your vision.
Whether you’re a beginner or an experienced WordPress user, this guide will equip you with the tools and knowledge to effectively customize WordPress Twenty Twenty-Three Theme and create a website that truly stands out.
Customize WordPress Twenty Twenty-Three Theme
In this article, we will create a sidebar in the WordPress Twenty Twenty-Three theme. So, let’s get started.
Create a sidebar
The sidebar will show the Latest posts, a List of Categories, and Social media icons.
1. Install and Activate the theme
If you have not already activated the Twenty twenty-three theme, then go to Appearance > Themes > Add New. Search the theme, install it, and then activate it.
2. Open theme Editor
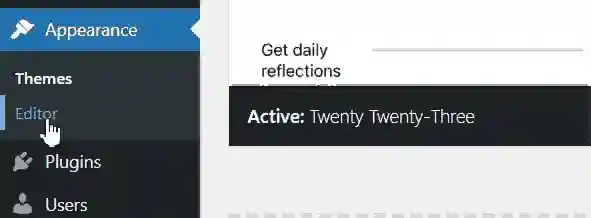
To start making changes to the theme, open the Editor.
Go to Appearance and select Editor
3. Create a template part for the sidebar
A template part is a reusable section of code that can be included and displayed within different templates of a theme. It allows you to separate specific sections of your theme into individual files, making it easier to manage and maintain your code.
To create a template part, Select Template Parts in Editor, and then click on +, and then a popup will appear on the screen. Enter the name of the template part(a sidebar), Select General in the given options, and click Create.
4. Add Social media icons in the sidebar
Let’s add social media icons in the twenty twenty-three theme sidebar.
- Click on the blue + button, given in the top left. Then select the Heading. Name the heading “Follow us”. Give it the size you prefer.
- Again search for Social Icons, and select it.
- To add social icons, click on the add icon given on the right side. A window will appear with many social media icons. Select the ones you prefer.
- You need to give some address to every social media icon you add here, otherwise, it will not appear on your blog after you are done making changes.
- After selecting any social media icon, click on it, and enter the URL of your social media page.
5. Add the Latest Posts section
The latest posts section will show the titles of some of your latest blog posts in the sidebar.
- After you are done adding social media icons, search for the heading and name it “Latest posts” and change the text size as you prefer.
- Again click on the same add button in the top left, Search for Latest Posts, and select it.
6. Add Categories section
This section will show the categories you have created for your blog.
- Add the categories Heading.
- Let’s keep the text appearance the same as the previous headings we added.
- Search for Categories List, and select it.
if there are no categories created by you, then it will show only one default Uncategorised category.
7. Save the changes
To save all these changes, click on the Save button given on the top right.
We have successfully created the sidebar here.
Add Sidebar to the Home section
1. Rearrange the Home sections
- Open the editor again. Go to Appearance > Editor.
- Select Template > Home. Click on the pen icon to start editing the Home section.
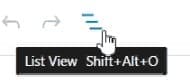
- On the Home screen, select the List View icon

- Copy the Block, then select Remove Group to remove it.
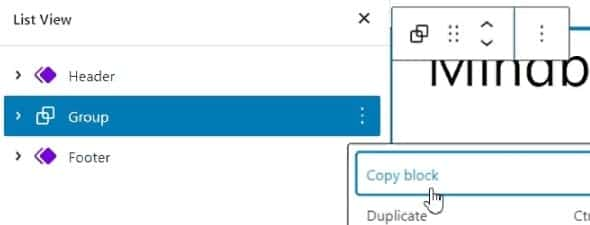
- After removing the home section block, there will be Header and Footer left.
- Now click on the add button on the top left and search Columns.
- Select the Columns in the search result, then select 66/33 column variation.
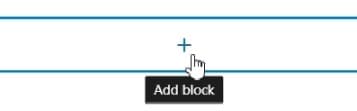
- Now Click on Add Block icon

- Search the paragraph and select it.
- Right-click in the paragraph and paste the copied Block.
- Now again click the Add Block icon given on the right side
- Search Template Part and select it. Click on Choose, and then select the sidebar.
- Now the sidebar will appear on the right side part of the Home page.
- Save the changes.
- Now you can visit the Home page of your blog. It will have a sidebar.
Add the sidebar to the Single Page
The sidebar will appear on the Home screen, but still, it will not appear if we open any of the posts on your blog.
So let’s add it for single posts as well.
- Go to Editor > Template. Select Single, and then click on the pen icon to start editing the Single Post template.
- Select the List View, Copy the Home section Block, and then remove it.
- Search Columns, Select 66/33 variation.
- Click on Add Block icon
- Search and then select Paragraph.
- Right-click inside the paragraph, and paste the copied Block.
- Now click the Add Block icon given on the left side part of the 66/33 column.
- Search and select Template Part.
- Click on Choose and then select the sidebar.
- Save the changes.
We have added the sidebar for the blog posts as well.
This was fun!
We can do a lot more customizations in the wonderful WordPress Twenty twenty-three theme.
In the next tutorials, we are going to customize the header and footer, create categories, and a navigation menu.
Leave a Reply